
No Discard Sourdough Starter
There is something to be said about the smell of fresh bread. I think it is one of the many scents that will lure the unsuspecting person into those corner bake shops. In the wake of eating gluten free I found that I missed the chew of true bread. It’s different there’s no denying it. Not by any means is sourdough gluten free. It is however great for those who are gluten sensitive. Sourdough itself is naturally low in gluten. The wild yeast that make sourdough sour eat the gluten in the flour as its food to create the leavening agent in the bread. You will need to know a few terms to enter this new world. Discard is the unfed starter. To feed a discard into a starter is the act of adding filtered water and flour so the yeast can eat and cause the dough to rise. Many people will use the term starter to refer to all of it. Some will separate the terms by using discard or starter to determine if the yeast has been fed or not.
So without further adieu I will start on my adventure of creating a sourdough starter from scratch and creating recipes to share.
To make true sourdough we need to start with the yeast that makes the dough rise. I created my sourdough without discarding.There are places and people willing to give you some of their live starter. If you are not one of those lucky few ( I wasn’t) this is what I did. Bare in mind that this is a five (5) to seven (7) day process.
In a 24oz mason jar you will need three (3) tablespoons of filtered water and three (3) tablespoons of flour. I used unbleached all purpose flour. Mix until all the flour is wet. Cover the jar with a piece of cheese cloth or I used a coffee filter. Tie it with a rubber band so bugs and debris can’t enter the jar. Now let it sit for twenty-four (24) hours. When you come back twenty-four (24) hours later don’t be discouraged that nothing happened. It will take at least five (5) days till you see some action.
Day two you will need to add three (3) tablespoons of filtered water and three (3) tablespoons of flour. Try to keep the mixture a paste consistency. Let it sit for another twenty-four (24) hours.
On day three (3) you may see some bubbles forming and the consistency start to change this is good. If you don’t see any activity don’t worry just keep going. On this day I changed up the measurements to keep the consistency on the thicker side. I added 1/4 cup of flour to 3 tablespoons of water. Let it sit for twenty-four (24) hours.
On day four (4) I added 1/4 cup of flour to 3 tablespoons of water again. Let it sit for twenty-four (24) hours.
On day five (5) I saw the most activity I had seen during the whole process from the start. I ended up moving to a 64oz jar. Since I was seeing so much more activity I decided that I was going to up the amount of flour to one (1) cup of flour to 2/3 cup of water. I also added another rubber band around the mason jar to mark the original volume to see if the starter had any rise. I let it sit for twenty-four (24) hours.
On day six (6) I did notice that there was some rise and I saw there were bubbles in the starter. This means that you have correctly cultivated wild yeast to make a starter. I added one (1) cup of flour and 2/3 cup of water to the starter. I moved the rubber band to the new starting volume, and let it sit again for twenty-four (24) hours. I waited until day seven to make my first loaf.
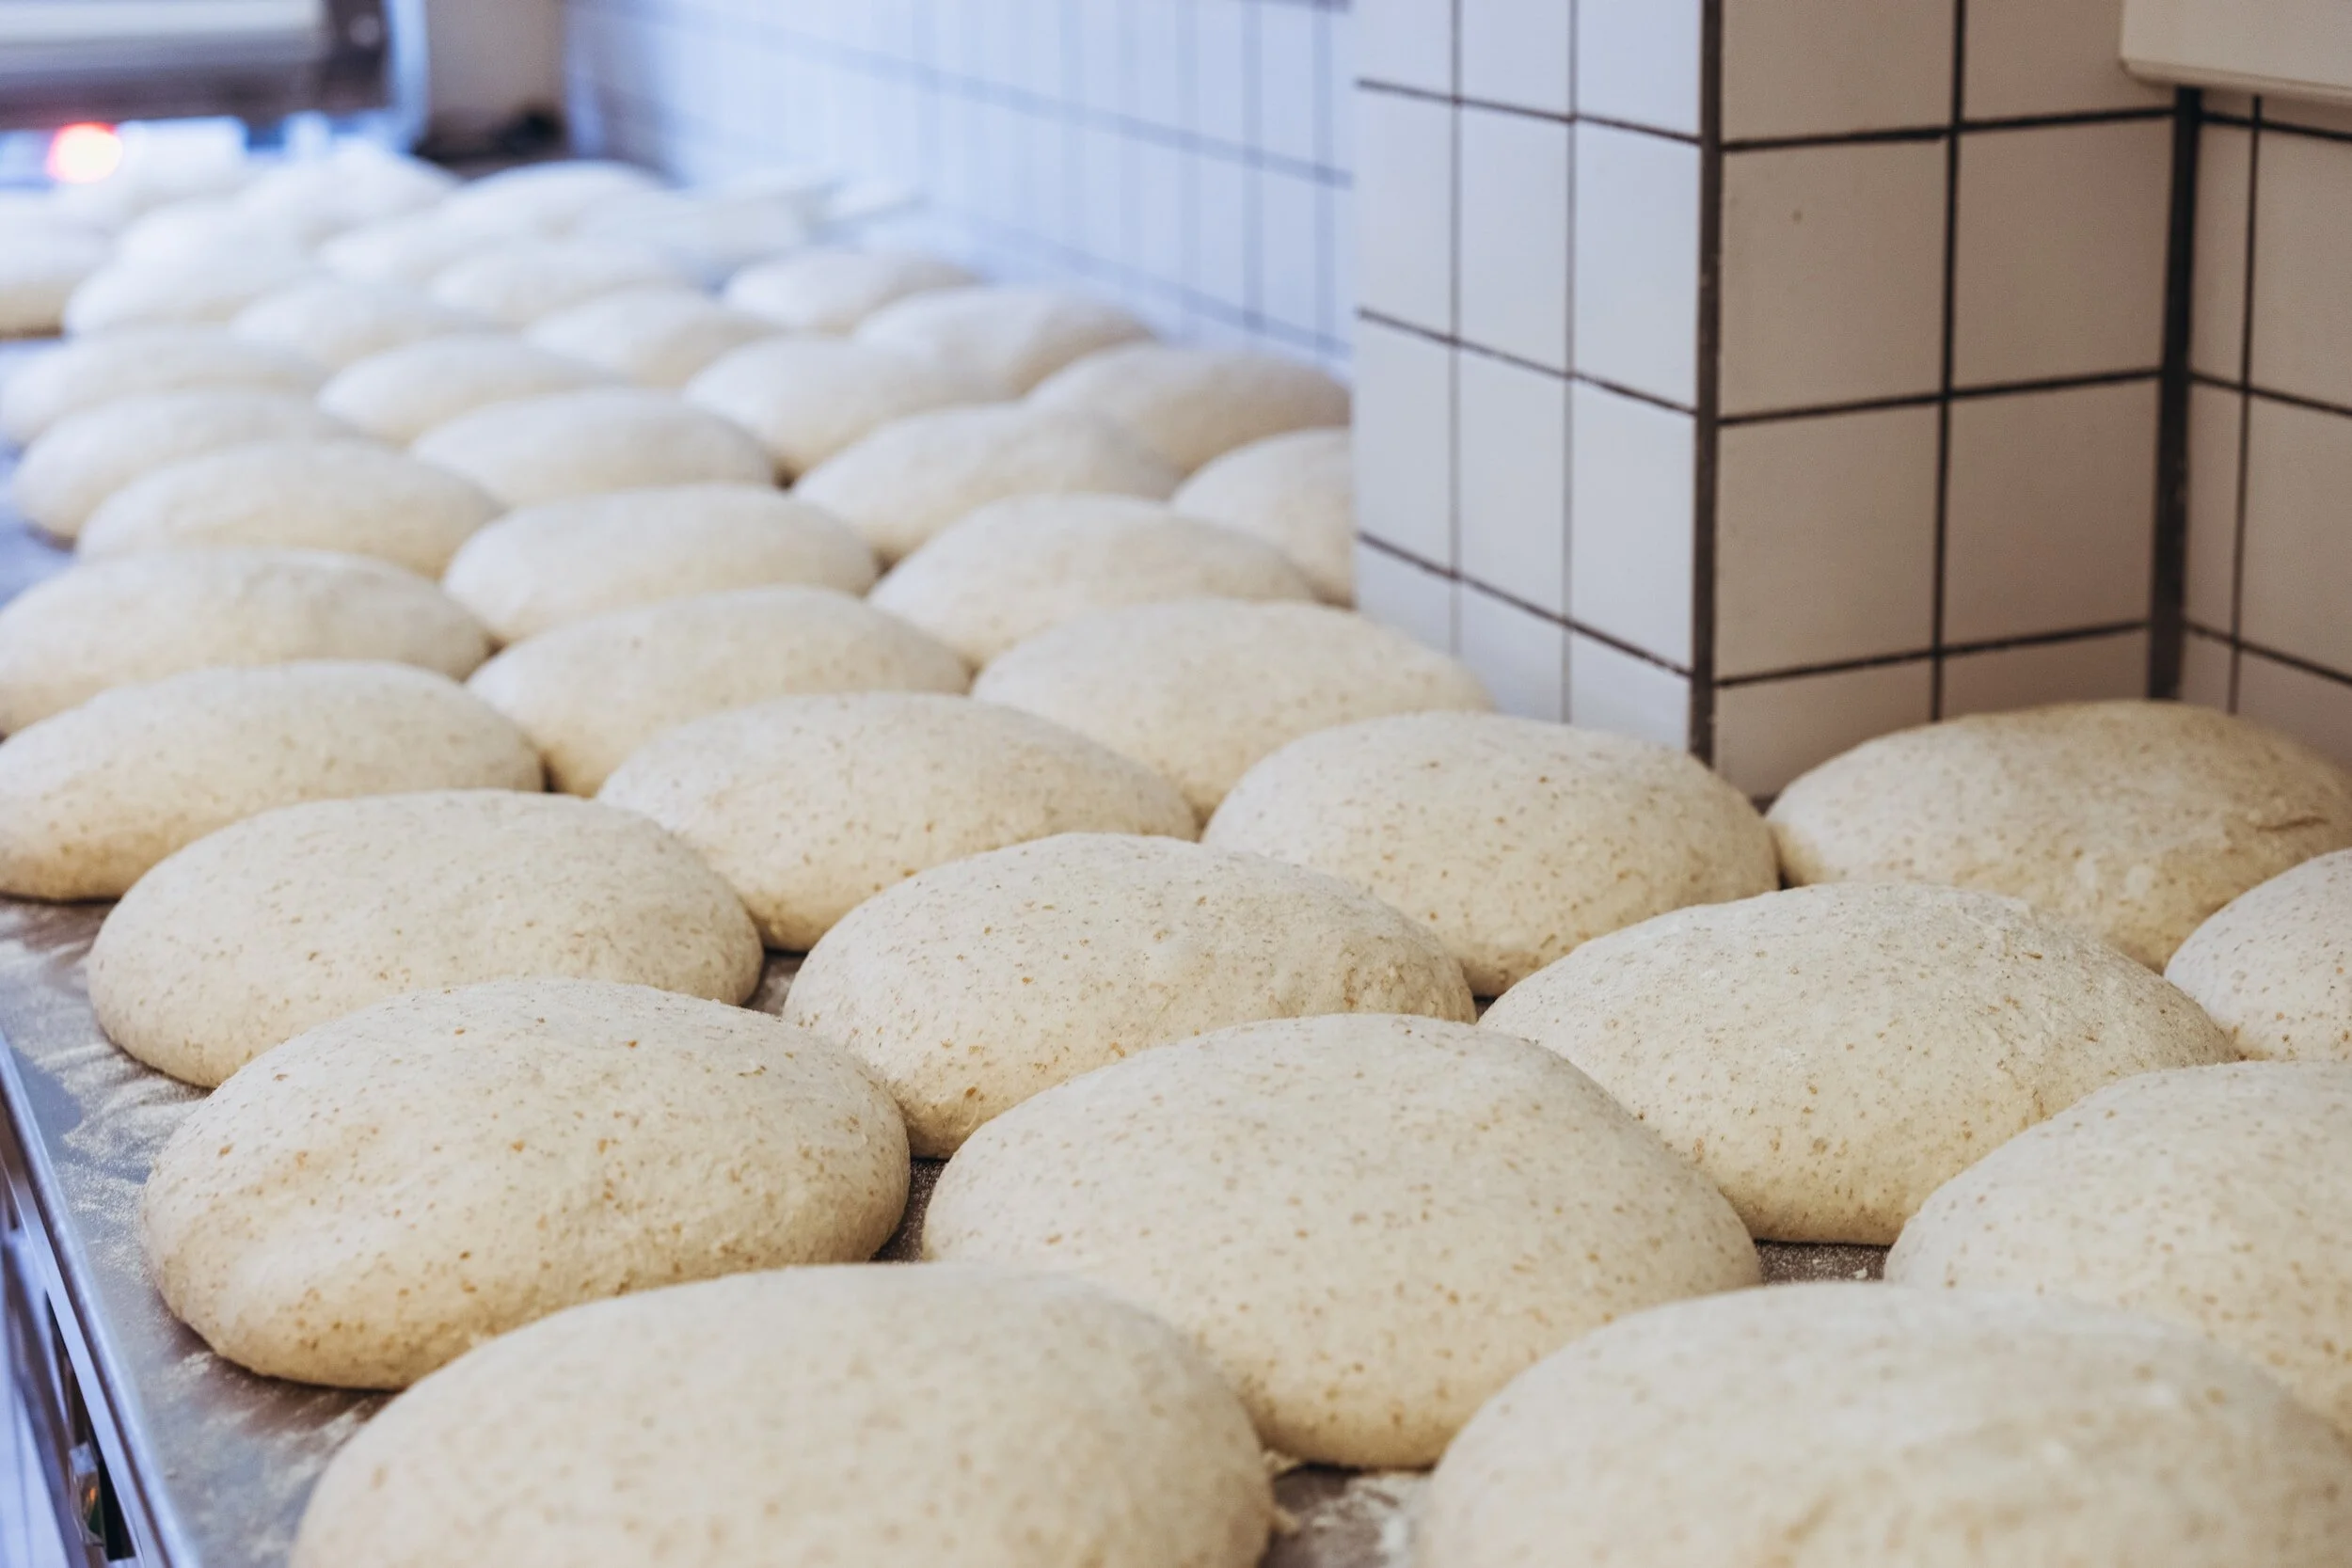
On day seven (7) the starter had doubled in size there were large air bubbles and the starter smelled fermented. All signs that the starter is ready to bake with. I did feed my starter one (1) cup of flour and 2/3 cup of filtered water. I waited two (2) hours for it to double in size again and decided it was time to bake with.
Notes: I made this during the summer when my kitchen was warm. Starters can take anywhere from 2-6 hours depending on the temperature of your home. In colder homes it will take longer. Remember we are using a wild yeast not a cultivated one you can buy in a grocery store. It can be unpredictable so I recommend setting a two hour timer checking the rise and checking every hour there after. You may need to follow this procedure until you are confident you know your starter’s patterns.